In this tutorial we are going to model a NUT and BOLT with Polygons.
In this tutorial we are going to model a NUT and BOLT with Polygons. This tutorial belongs to Poly Mechanical Modeling in Maya.
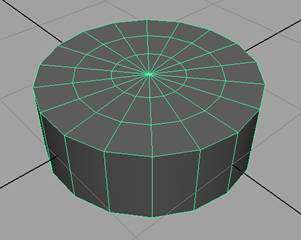
Let’s start with a Poly Cylinder.
- Create a Poly Cylinder with default settings
- Show wireframe on shaded
- Go to the Channel box and Put values as below
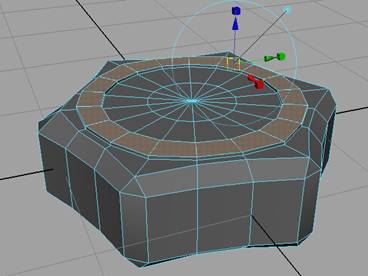
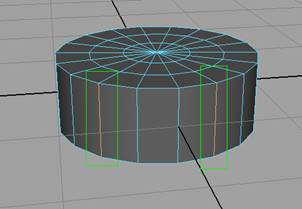
- Right Click on the object and choose Edge from the right click marking menu
- Select edges ring of sides, select one edge and then leave two edges and repeat this action until the last edge
- Go the top view
- Get scale tool
- Uniformly scale all selected edges and you will get a shape like image below
- Go to the side view and scale on Y axis for adjusting the height of selected edges. See image below
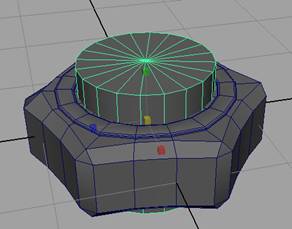
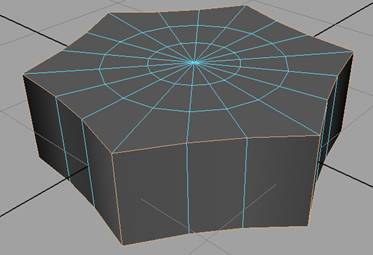
- Go to the Select Menu, choose Select Edge Loop Tool
- Include Top and Bottom edge loops of Nut object. See image below
- Go to the Edit Mesh Menu > Bevel with default settings
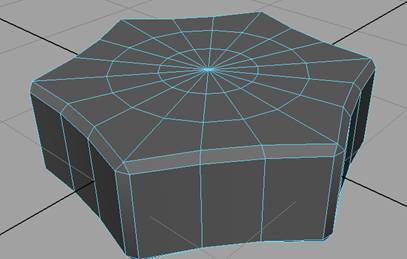
- Go to Edit Mesh Menu choose Insert Edge Loop Tool
- Insert a new edge loop near the corner edge of top of Nut object. See image below
- Right click on object and choose vertex
- Select 6 edges of corners and scale them uniformly. And make a circle type shape
- Repeat the steps 13, 14, 15 and 16 for opposite side of the Nut. Change the camera from top to bottom and create same edge loop on other side.
- Go to edit mesh and bevel more edges loops of new extruded faces and make soft and cool shape like a real nut
- Create another cylinder with default settings in the scene
- Change the subdivision axis of new cylinder to 18 so that its line become align to the Nut’s lines
Height 0.7
Subdivision Axis 18
Subdivision Caps 3
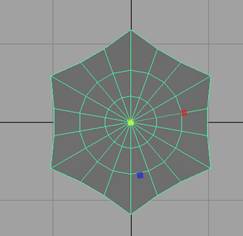
Top view
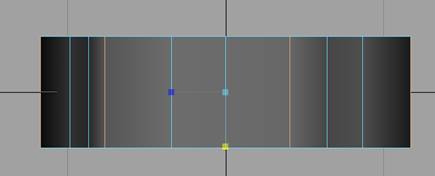
Side view

>