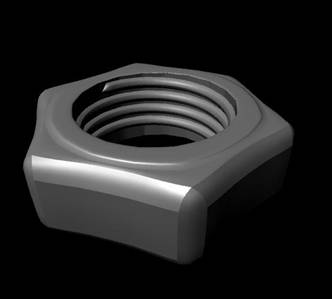
In this tutorial we are going to model a NUT and BOLT with Polygons.
Here is Hand-On Excersice of this tutorial …………..!
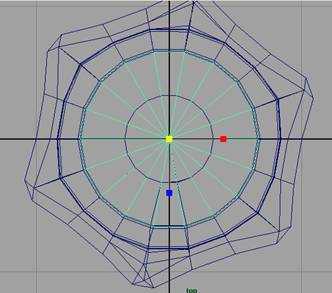
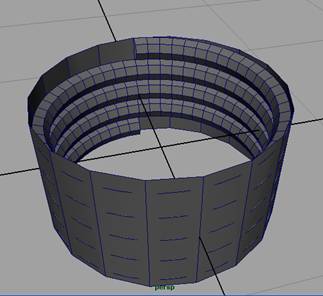
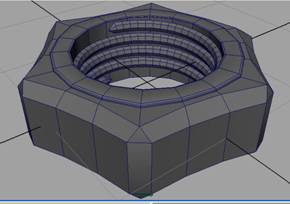
- Go to the top view and fit new cylinder into the inner circle of Nut. See image below.
- Go to the perspective view
- Select Nut and then shift select new cylinder
- Go to the Mesh Menu > Booleans > Difference
- Get Paint Selection Tool
- Right click on Nut and choose Face
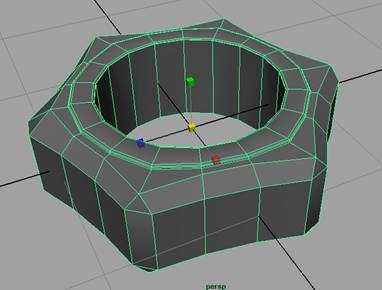
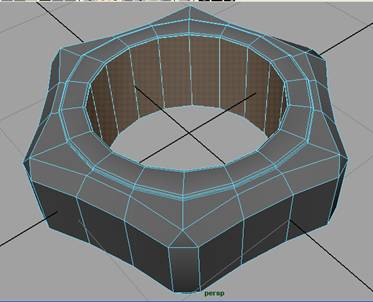
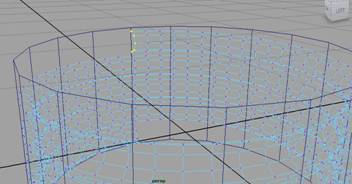
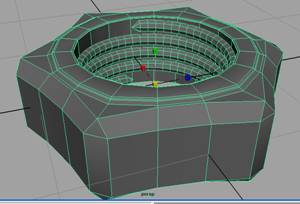
- Paint select edges that are inside the Nut. See image below
- Go to Mesh Menu and choose Extract
- Hide the actual Nut
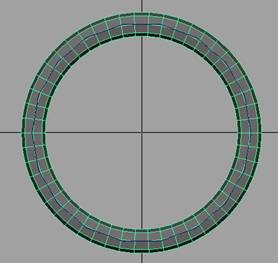
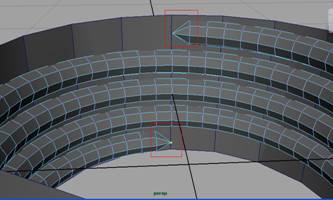
- Go to the top view and scale and fit helix inside new cylindrical object. See image below
- Select faces of helix that are outside of the cylindrical object
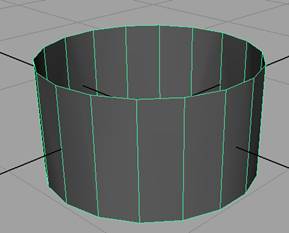
- Delete outside faces of helix. See image below
- Right click on helix, choose vertex mode
- In wireframe mode select all vertices of end row of the helix. See image below
- Go to the Edit Mesh > Merge to Center
- Go to Display Menu > Show> All
- Now select all 3 objects and combine them. go to Mesh Menu and choose Combine
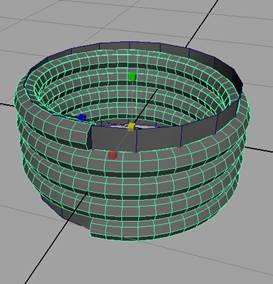
10. Create a poly Helix with following values inside the new object
Coils 4
Height 0.8
Radius 0.1
That’s it.
Note: you have almost completed the tutorial. Now it’s up to you that how you make your NUT more accurate and more enhances and smooth. You may try many tools, such as smooth, bevels and much more. Go ahead
———The End——–