Maya physical sun and sky Tutorial
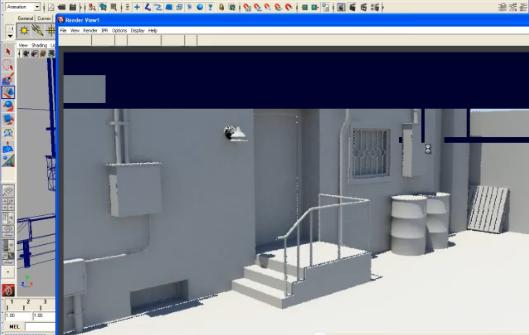
Maya physical sun and sky, Here in this tutorial we have a scene of complex modeling. The scene is expressing a model of house and there we are required to assign texture material. We shall also add physical sun and sky in our scene by using useful and integrated application of Maya.
If we look at this model, we come to know that it is made up of different polygonal and NURBs primitives and they are merged mutually at the same time beautifully. Render the scene at this stage and see what the scene has result about lighting and shading requirements. If there are problems or lack of any requirement, then add it properly.
The object setting are much important in such modeling, this modeling is mostly made up of NURBs primitives, so shading will require deep intention and practice about these NURBs modeling object. Now use mental ray application for rendering, so go to render set up and choose mental ray as source of rendering.
This time the rendering result will be quite different. In render set up, there is an option with the name of Environment. Click on this sign and it will extract the properties. Here we can create or delete the affects. Click on physical sun and sky option. Convert the model in wireframe mode and the sun affect will be there inside the mode.
Move it outside and place it at horizontal position. Render the scene and check the outcome. Adjust attribute value from the shading list and finally we shall get the result that we want. So in this way, physical sun and sky are included in the scene. Moreover get help from following video tutorial.

