Autodesk Maya is one of best 3 d software program 3d modeling, 3d animation and rendering program of computer graphics. In this NURBS 3d modeling lesson you will learn how to model car using basic NURBS 3d modeling tools and commands in this lesson we shall emphasize on how to modeling car back panel using new 3d modeling NURBS tools and commands in 3d animation modeling software Maya. This is sixth part of the 3d modeling lesson for our car and you can learn how to use many important 3d modeling tools and commands for NURBS 3d modeling geometry in 3d software Maya.
Here you will learn how to create 3d object with 2d curve line. In NURBS 3d modeling 3d objects are modeled starting from one curve line this first curve is called as profile curve. Then Boundary tool, Loft tool, Birail tool and etc are used to create 3d model/surface with the selected curves.
-
Steps:
- Go to side view port and start creating curve with create CV curve tool in Create menu.
- Once you have created profile curve duplicate it for other parallel curves bend area curves, also create CV curve for upper boundary and then duplicate it with ‘ctrl + d’ and move for downward boundary so that you have close curve shape indicating boundary of the back panel’s half area.
- Now select all curves and then go Surfaces menu and click on the boundary tool. Then selecting all the area go to Edit NURBS and click on the Align tool option also increase Number of repeat UVs for better results using attribute editor.
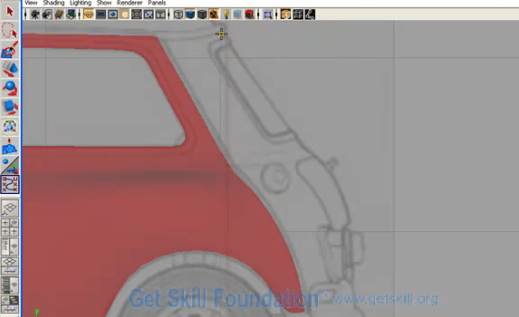
- Then right click and select assign favorite material and choose the material you are using previously.
For details watch this free NURBS 3d video tutorial now.