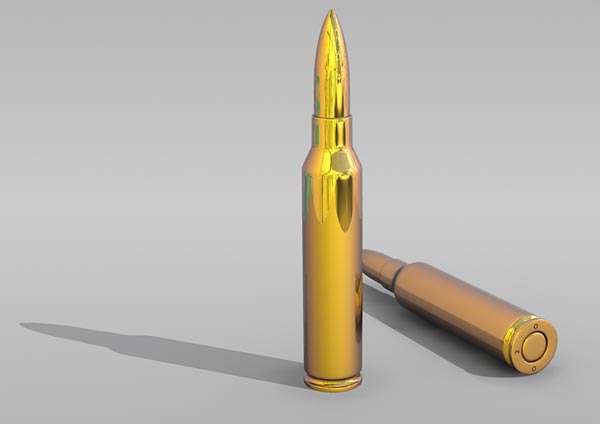
In this lesson you will be teach a new technique of 3D. it is helpful for basic maya learners . I hope you will appreciate this tutorial. In this tutorial we make a nice shiny rifle bullet.
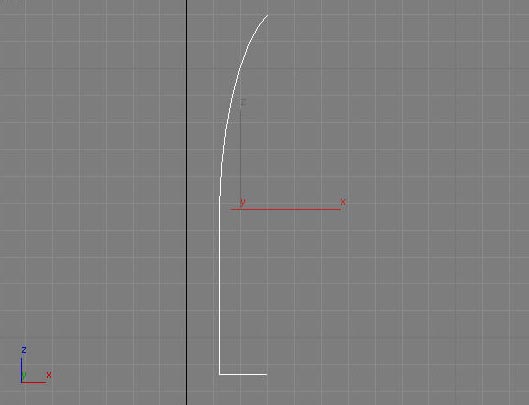
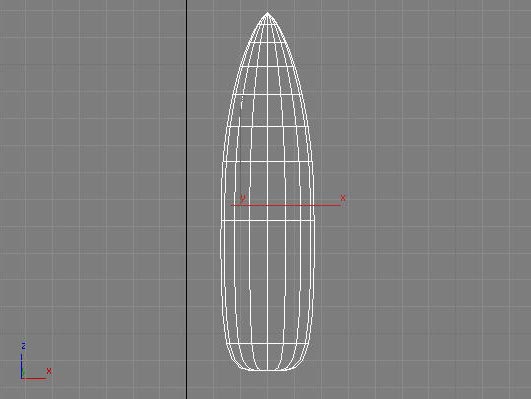
First, we are going to make the bullet strike. Create a spline that resembles the one on the image.
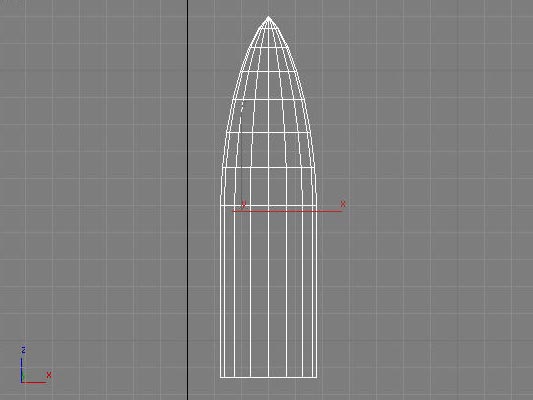
Apply the Lathe modifier to the spline and put the segments number to 16. If you don’t find the object like on the picture, struggle clicking on the Min/Center/Max buttons in the Lathe modifier properties until you obtain it.
Put in the MeshSmooth modifier to the object plus put the iterations number to 2.
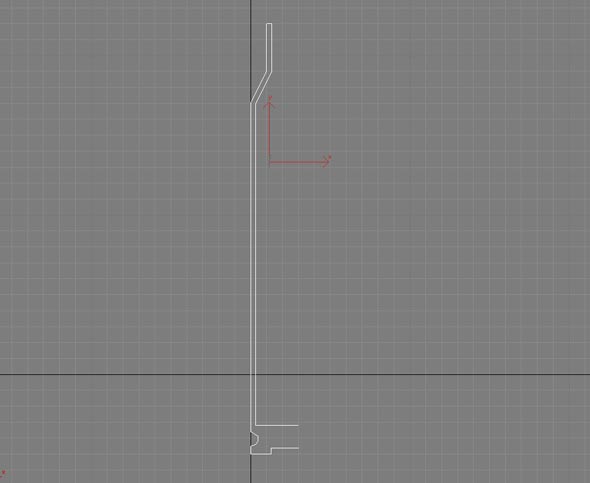
Then, we’ll make the bullet casing, so generate a spline like is exposed in the next picture.
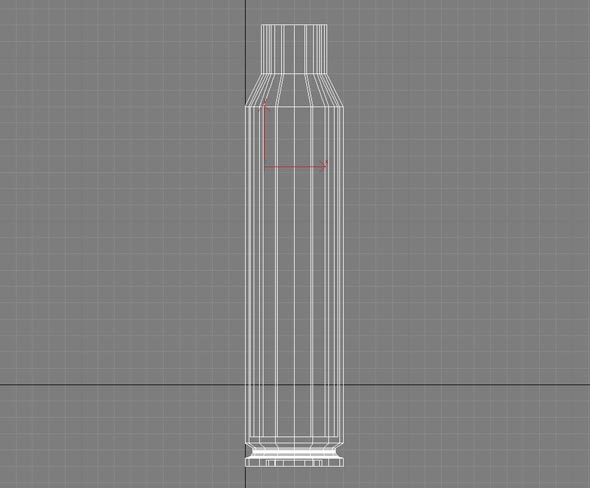
Similar to with the slug, apply the Lather modifier through 16 segments to the casing spline.
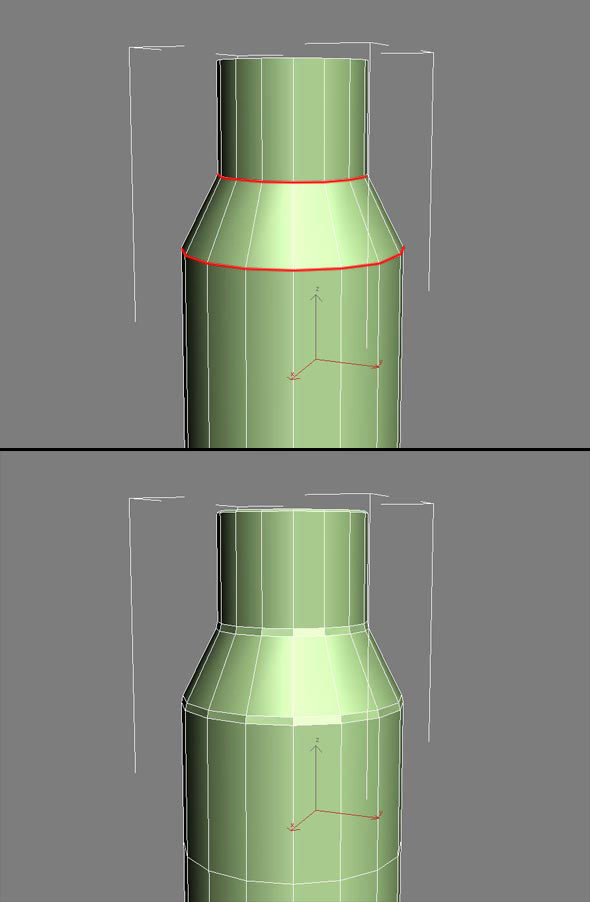
Insert the Edit Poly modifier and go into the Edge selection mode. choose the edges (shown in red in the picture) and chamfer them a small bit.
