This video tutorial will carry you throughout the Maya at beginners to intermediate level. After this tutorial you will be able to model an interior architectural model with subdivisions and assign a texture to the subdivision model.
Let’s start
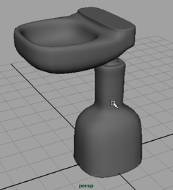
our modeling with subdivisions in Maya. We’ll model an interior architectural object and that is a Wash Basin. We choose Modeling this wash basin for this tutorial because we wanted to teach you the use of particle flow for water and other type liquids. First we have started our object by creating a new project as you saw in previous part of this lesson. In this part we are going to model a Wash basin with subdivisions.
Let’s start now,
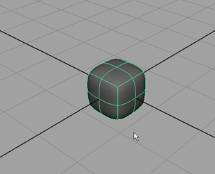
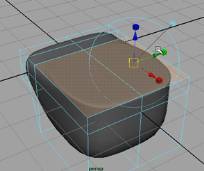
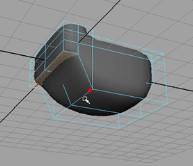
1. Go to Create Menu Subdivisions Cube
2. Hit 5 key on keyboard for shaded mode of the object
3. Hit 3 key on keyboard for smooth mesh of the object
And you should have this Cube
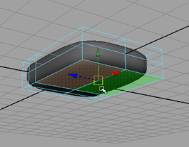
4. Scale on Z axis with scale tool or put the value of 3 in channel box for Z scale.
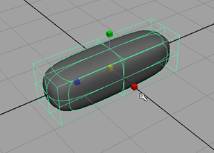
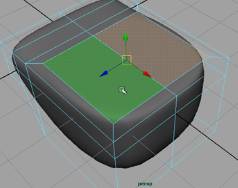
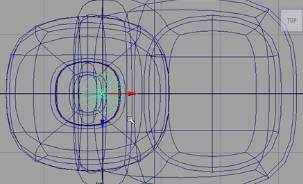
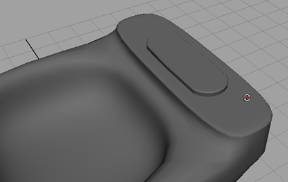
5. Select 4 faces from side. See image below,
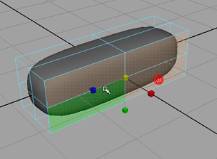
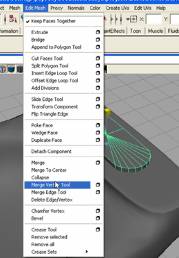
6. Go to Edit Mesh Menu > Extrude Face
7. Move Extruded face outwards. See image below,
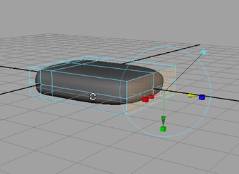
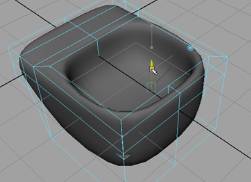
8. Select bottom faces of the object. See image below,
9. Move both of the faces downwards. See image below,

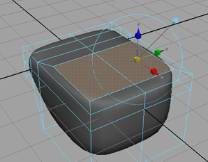
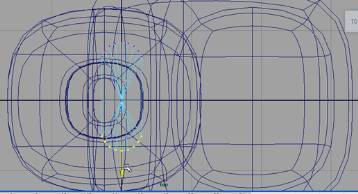
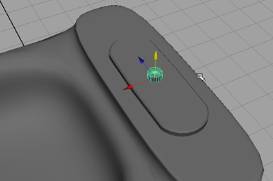
10. Select both top faces at a time, see image below

11. Go to Edit Mesh > Extrude Face,
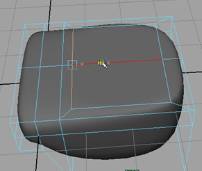
12. Scale uniformly inwards, see image below,
13. Leave faces selection and Go to edges mode and move both sides’ edges so that you make all four sides equal distance from central faces.
14. Then again select top two faces. See image below,
15. Go to Edit Mesh Menu > Extrude Face
16. Move Both faces Downward after extrusion. See image below,
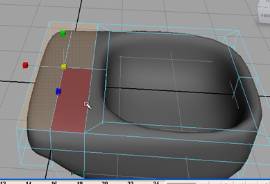
17. Select 4 top-back-faces. See image below,
18. Go to Edit Mesh Menu > Extrude Face
19. Move Faces upwards
20. Again Go to Edit Mesh Menu and > Extrude Face or press G key on keyboard
21. Don’t do anything like scale, rotate or move after this extrusion. See the image below,
22. Select back-bottom-faces. See image below,
23. Get Extrude Too and move back faces downwards,
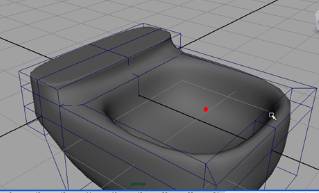
24. Try to make a shape of your own desire, you will just extrude these two bottom faces again and again and you can move, scale and rotate them. See image below,
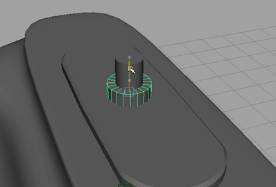
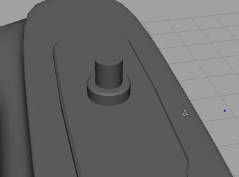
25. Create a Poly cylinder and place it on the basin in top view. See image below,
26. Go to vertex mode and select half side vertices and move them apart from the central one vertex. See image below,
27. Go to the perspective view select base object and bevel it. For bevel tool Go to Edit Mesh Menu and choose Bevel,
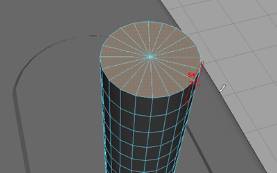
28. Create another cylinder,
29. Fit another cylinder in it,
30. Bevel the big cylinder as well. Go to Edit Mesh> Bevel,
31. Enlarge the small cylinder for making a water tap. See image below,
32. Increase its subdivision height,
33. Select top faces of the cylinder with paint selection tool,
34. Go to Edit Mesh Menu > Extrude Face,
35. Rotate them on Z axis 30 degree
36. Repeat the same actions, extruding them, rotating them 30 degree, see the image below,
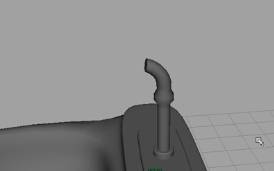
37. Try to make a water tap or shower like shape. It’s up to your own idea. If you don’t have any idea then watch the movie of this tutorial. See image below,
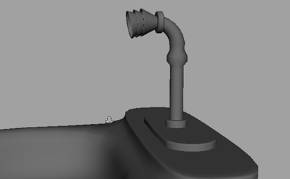
Assign a ceramics texture to the Basin object and any of your desired material to the water tap object.