In this free video tutorial you will learn modeling side panels of NRUBS car model such as doors, pillars, screens etc. After this tutorial you will be able to model a NRUBS car of your own in Maya.
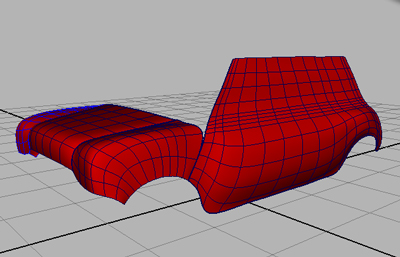
In this text and image tutorial you will learn Modeling side panels of a vehicle in Maya’s NURBS feature. You will use and learn new tools, commands, options and techniques that are mostly used in NURBS mechanical modeling in Maya. You will model doors, pillars, screens, and other parts of side panels with 2 dimensional CV curves and then you will make NRUBS surface by converting those 2 dimensional lines into 3 dimensional object.
- Open the file part_4_side_panel.mb
- Duplicate side panel

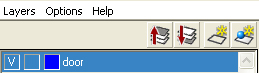
- Create new layer and name it door
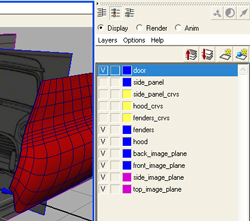
- Add duplicated copy of side panel to new door layer
- Make invisible the actual side panel object layer
- Go to the side image reference view
- Change camera shading mode to X-Ray mode
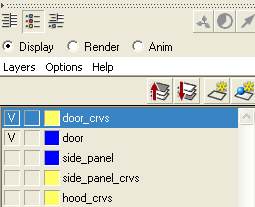
- Create a New Layer and name it door curves
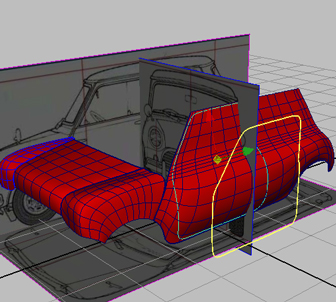
- Draw a CV curve on the door image reference line
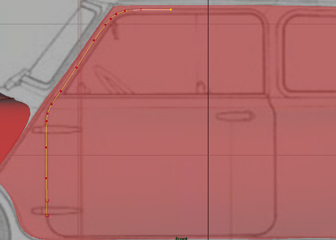
- When done, go to Edit Curve Menu and select Open/Close Curve option box
- Reset all settings and check blend option
- Click Open/Close
- Select new door curve and then shift select the duplicated surface of side panel
- Go to the Edit NURBS and select Project Curve on Surface with default settings
- You have projected the curve onto the surface
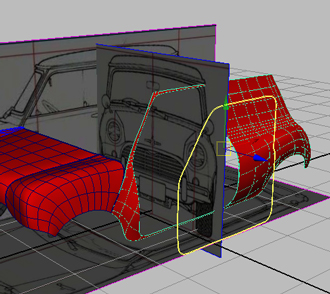
- Got to Edit NURBS and get Trim Tool
- Click outside the door then click inside in door and then click enter
- You have trimmed the surface
- Make invisible the door layer and visible the side panel layer
- Project door curve onto the side panel in side view
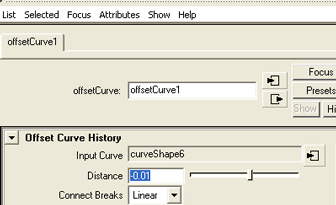
- Go to the Edit Curve Menu and offset curve with default settings
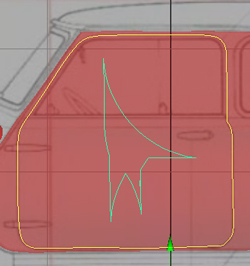
- Go to the Attribute Editor and change the distance slider to -0.01
- Project offset curve onto the surface as you have done in previous steps for making the door
- Use Trim Tool from Edit NURBS Menu and trim the region for door out of the side panel
- Make visible the door layer and invisible the curves layer
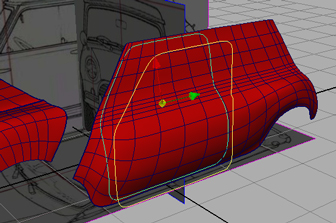
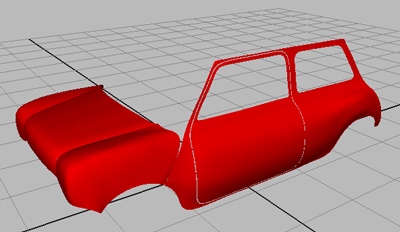
- Move the door object towards the side panel until it sits properly into the side panel
- Now create widow repeating the same things

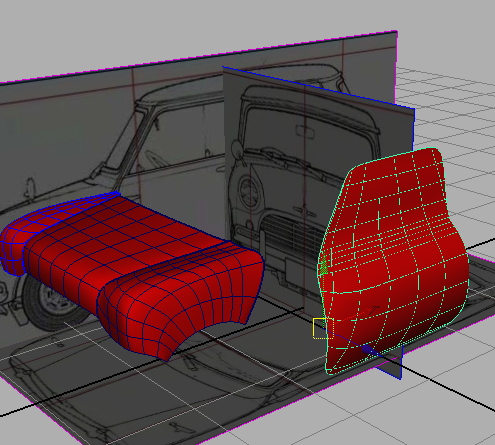
- Create a window for rear door
- Duplicate the surfaces -1 unit on Z axis,
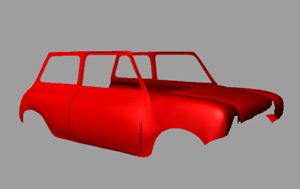
You have done very good work. Now we shall make main body of the car, in next steps you will model back body, wind screen, roof and other details of the Mini.
Part 5 of project NURBS Car Modeling has been finished.