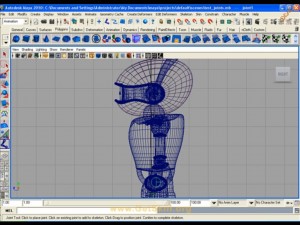
This tutorial is related to 3d modeling and animation in Maya. From this tutorial we are starting about character setup of robot part 1. This tutorial deals with how to create joint setup for robot modeling. Here we are only working for robot model rigging. The rigging is the first step in modeling.
The character modeling is combination of complex geometry of different joints. These joints are created under animation category. When you want to create joints for the modeling, you have to set the setting as animation. Here in sub setting you can find joints option. The joints are generally created in side view port, it doesn’t matter about same shape of character rigging because every character has different look. Many parts of character are double in number, so you can create the other one by using mirror option.
There are joint making, joint resizing and orienting tools in Maya. But here we shall read about only joint making in this basic part of robot character setup. Again I am pointing out that main menu setting should be animation. Import the reference image of robot, and now bring you viewport as orthographic viewport and active the side viewport.
We take start from pelvis joints and then neck, head and mouth joints. This is the best sequence for character modeling setup and in next part we shall work for joint sequence in detail. The given video link is describing visual concept of character setup of robot.

